


Learn these 3 Kayak Rescues
5-minute read + 14-minute video
Dan Arbuckle, our friend from Headwaters Kayak, takes us through three kayak rescues in case you or someone else ends up in the water unintentionally. Joining him is his mom, who’s a Level 3 kayak instructor herself.

Learning rescue techniques is important for kayaking safety
The video covers three different types of kayak rescues. Two are used when at least one other kayaker is on the water nearby. The third is a self-rescue.
Take a look:
T Rescue
The T Rescue can be used when there’s at least one rescue kayak nearby. The kayaker in the rescue kayak (Kayaker A) will paddle up so one end of the capsized kayak is close to her cockpit and that kayak forms a “T” with the rescue kayak.
Meanwhile, Kayaker B (the capsized one) swims to the other end of his boat. K-A will lift her end out of the water and flip it to empty water out of the cockpit. Once the rescued kayak is mostly water-free, K-A will bring it alongside her kayak, holding it for stability.

This kayaker stabilizes the second kayak so the capsized paddler can re-enter
K-B will swim over to just in front of his cockpit, and kick his feet to the water’s surface. He’ll pull himself up and over the deck of his kayak, then swivel around and settle back onto the seat.
Dan takes some time to instruct us how to get out of a capsized kayak in the water when wearing a spray skirt. Be sure the grab loop is in the front and easily accessible. Lean forward to trap your paddle to you, grab the loop and pull, then slide the kayak off “like a pair of pants,” says Dan.
“I’ve never had someone get stuck in a kayak, ever. They always come out. Your need for oxygen really overpowers your fear of being stuck.”
NOTE: This rescue only works in kayaks with a rear bulkhead. Without a bulkhead, the kayak will fill up with water and the capsized kayaker has to swim to shore.
Touring and sea kayaks have deck lines that make it easy to grab and hold onto kayaks during rescues. The more basic recreational kayaks don’t have these features, and so rescues are more challenging.
Heel Hook Rescue
The Heel Hook Rescue is great for kayakers who don’t have as much upper body strength. You use mostly lower body strength to pull yourself out of the water and back into the boat.
With this one, K-A will empty water out of the capsized kayak in the same way as described for the T Rescue. When it’s alongside K-A’s kayak and stabilized, K-B can prepare for the Heel Hook Rescue.

Use the deck lines to grab onto when ridding the capsized kayak or water
K-B will lay on her back alongside her kayak. She’ll raise her left leg and grab the cockpit with her heel. Then she’ll reach up and hold onto the deck lines, and use her legs to pull her up and on top of her kayak. She can then turn and drop down into the seat.

The heel hook rescue
With both of these rescues, K-A can put his full weight on the rescued kayak, as it acts as “a giant buoyancy aid” so he can’t tip over himself.
NOTE: It’s important that capsized kayakers do all they can to hang on to their paddle!
Paddle Float Self Rescue
For this kind of self rescue, you’ll need to bring some gear items along with you every time you kayak, especially if you kayak alone:
- Paddle Float—A Paddle Float is inflates to provide buoyancy for one of your paddle blades. Using it helps you stabilize your kayak so you can get back in.
- Bilge Pump—Once you’re back inside your kayak, your cockpit have water in it. Your bilge pump will get that water out quickly.
This kit should be kept in the same place every time you kayak so you can reach for it automatically. You can attach it by the deck lines to the front of your kayak’s bow, or inside the cockpit in a secure, easy-to-reach spot.
If you capsize, it’s really important to keep a tight hold of both your kayak and your paddle. Dan likes to use his foot to hold onto his overturned kayak so he has free use of both his hands to attach and inflate the paddle float.
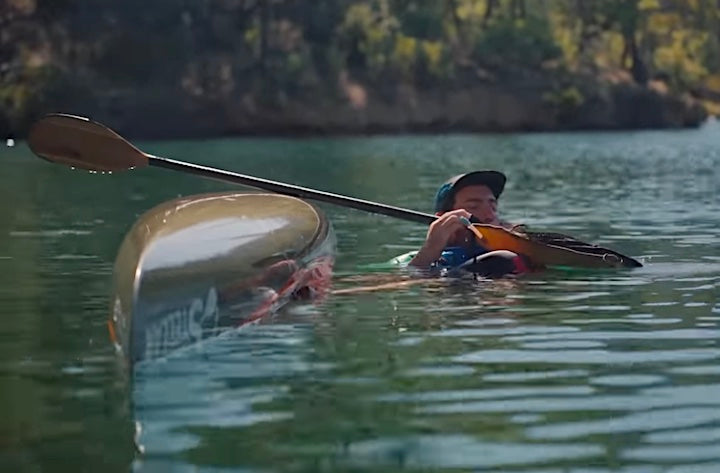
A paddle float is key for self-rescue from the water
Once the paddle float is ready, flip your kayak upright. If you can, empty out some of the water. Insert the blade without the float into the “X” deck lines just behind the cockpit to secure it.

The paddle float provides the stability for a capsized kayaker to re-enter from the water
At that point you can do either of the other two rescue techniques, the T Rescue or the Heel Hook. You’ll keep your weight on the paddle with the flotation for stabilization as you get back in. Be careful not to flip over on the other side as you re-enter!
Practice These Rescues in Warm, Calm Water
If you practice these rescues in calm, warm water, they’re very doable in rougher conditions. But, as Dan says, it’s important to “know your limitations and make smart decisions,” like not kayaking alone in rough water.
It’s also important to practice these rescues in the kayak you have, especially if it doesn’t have the deck lines and other features of a sea or touring kayak.
Do you have paddle questions our friendly Customer Service Team can help you with today? Contact them: 715-755-3405 • bbinfo@bendingbranches.com
More for you...


